SRB2 Level Editing Made Easy
Manipulating Vertices, Linedefs, and Sectors
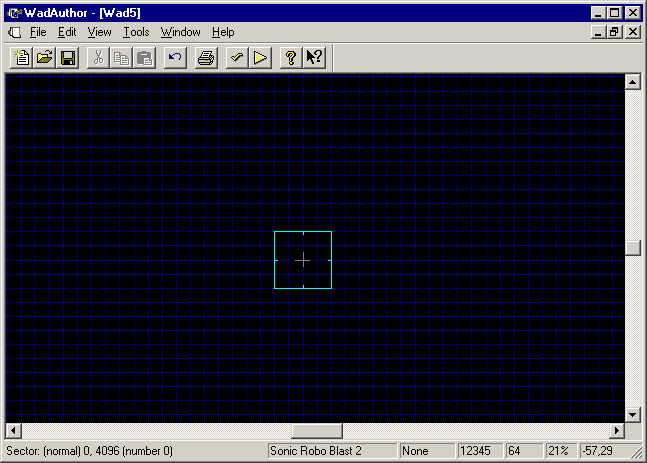
Before you can actually make levels, you'll have to understand how to perform various tasks in WadAuthor. Here again is what your empty map looks like: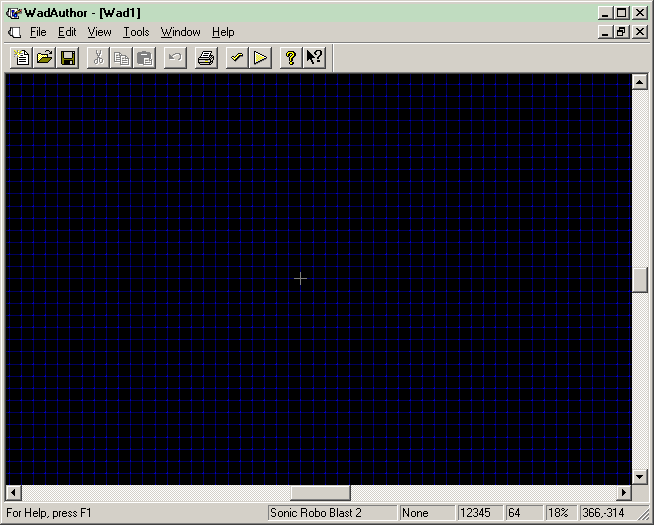
What you are looking at is a coordinate plane, like the one you would graph equations on if you were doing algebra stuff. A location on this map is specified by two values: an X value tells you where something is horizontally, and a Y value vertically. Such locations can be specified (X,Y). The grey thing is the origin, or the location at (0,0). X values increase as you move to the right and decrease as you move to the left, so anything to the left of the origin would have a negative X value and anything to the right would have a positive X value. Similarly, Y values increase as you move up and decrease as you move down.
The numbers in the lower right corner of the screen show you the coordinates of the point the mouse is over. You can't see the mouse cursor in my screenshots, but in the one above, the mouse was at the location (366,-314), which is to the right of the origin (since the X coordinate, 366, is positive) and under it (since the Y coordinate, -314, is negative). (Note: It's only a coincidence that the Y coordinate is approximately equal to pi times -100. I do not endorse eating 100 pies, then vomiting them up again. If you don't understand what I am talking about here, then never mind.)
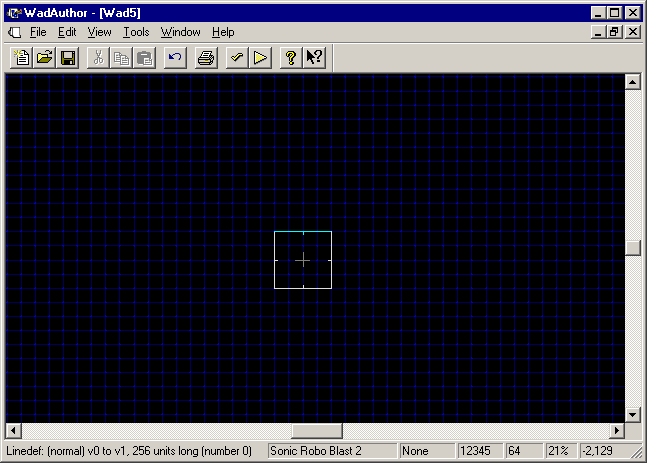
The blue dots you see form a grid. They're spaced 64 grid units apart from each other, so for example the first blue dot above the origin is at a coordinate of (0,64) — zero units away from the origin horizontally, and 64 units above it. (The units are technically supposed to be called "fracunits," but I'll call them units, because it's shorter and easier to remember. Just don't get them confused with pixels. They're not pixels.) The first blue dot to the right of that one would be at (64,64). The first blue dot to the left of the origin is (-64,0). If that doesn't make sense, reread this and the previous couple paragraphs more carefully.
In WadAuthor, and in all map editing of SRB2, you deal with sectors, which are shapes on this coordinate plane. Polygons, to be precise (circles and other curved things can only be faked). Sectors are composed of line segments, called linedefs. And linedefs are made by vertices (or "vertexes") — each linedef has a starting vertex and an ending vertex (although you don't need to worry right now which is which).
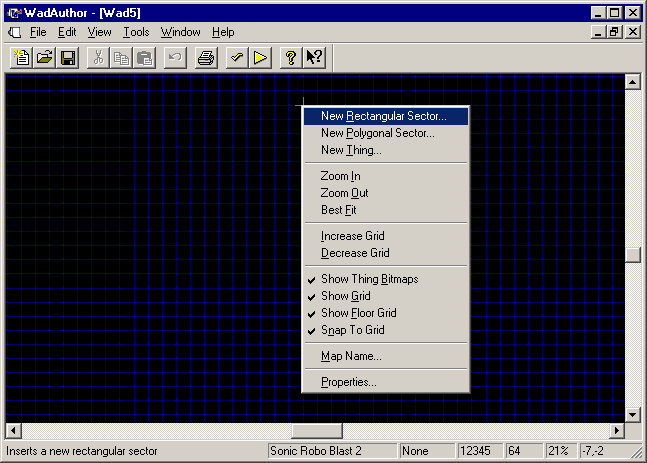
You might expect to create vertices and then connect them and assemble sectors that way. But in WadAuthor, this isn't how it works. Instead, you make a sector first, and then you can move vertices and linedefs around. Right-click an empty area in the map (yeah, yeah, it's all empty at the moment, but soon that will change) and select New Rectangular Sector:
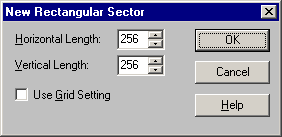
Set the Horizontal Length and Vertical Length each to 256 if that's not what they are already, and press OK:
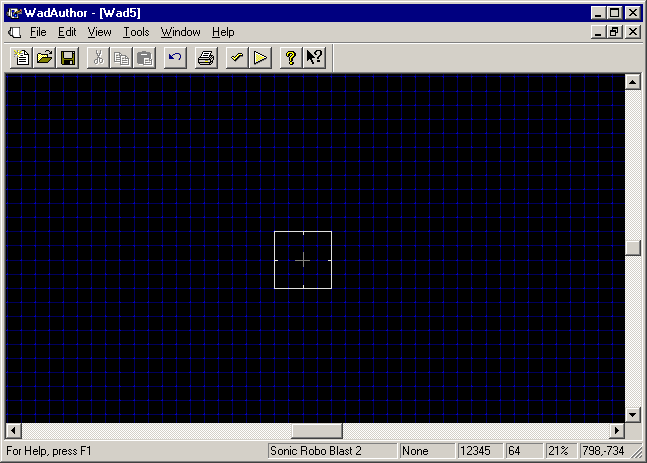
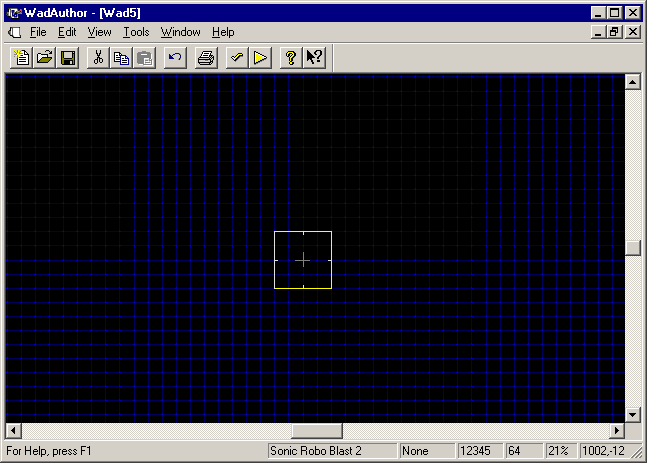
A sector! Isn't that cool? It's a square one, centered around the origin. It has four linedefs: the top, left, right, and bottom sides of the square. And each of those linedefs has two vertices, but notice that there are only four vertices: the top and left linedefs share a vertex, as do the top and right linedefs, et cetera. You can move the mouse over a sector, linedef, or vertex to get information about it. See the bottom left corner of the window:
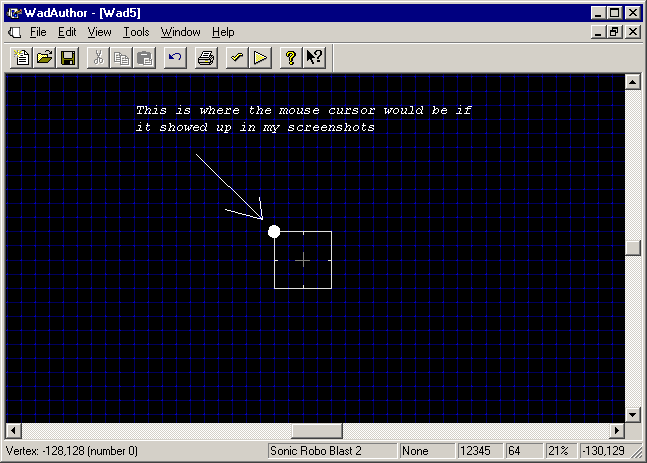
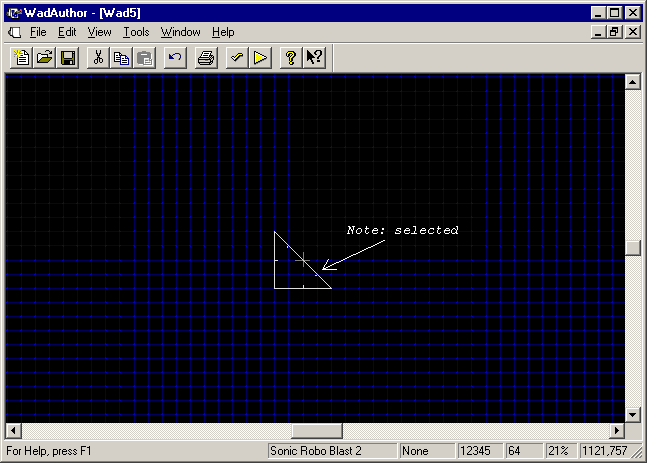
I've added some text, an arrow, and a big dot to that last one to make it easier to understand what's going on. Remember, the mouse cursor will be over (or very close to) whatever is active. You can click on something to select it, as I've done here with the sector:

Note that it looks exactly the same as it would if you'd selected all four of the linedefs. This may seem confusing, but usually isn't a problem. After you've selected something, you can hold Ctrl while clicking on something else if you want to select multiple objects at the same time. For instance, below I've selected the top and bottom linedefs this way (after deselecting the sector by clicking in an empty area, of course):
You can click and drag to move objects around. (I'm saying "objects" because there's a specific type of object called a "thing" in SRB2, and I don't want you to be confused by that. An object is a vertex, a linedef, or a sector — or a thing, but we'll talk about things later.) Try moving the vertex in the upper right corner towards the origin:

Wow! A triangle! But look closely, you have two linedefs where you only need one:
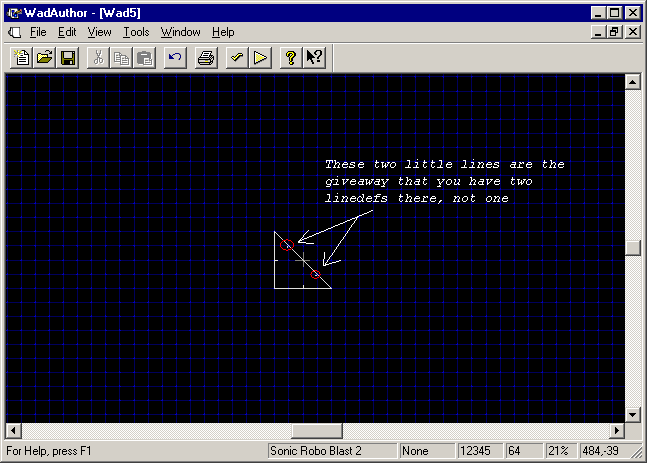
So select the rightmost of the two linedefs:
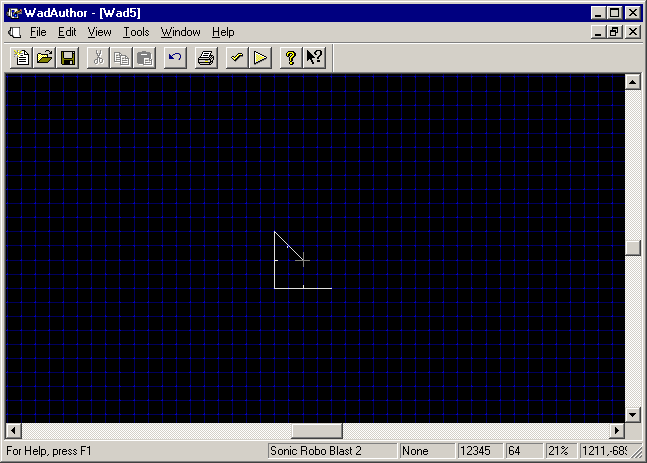
...and delete it:
Uh-oh! Now your sector isn't a closed figure! Remember, it needs to be a polygon, and polygons are closed figures. Oh dear, what to do?
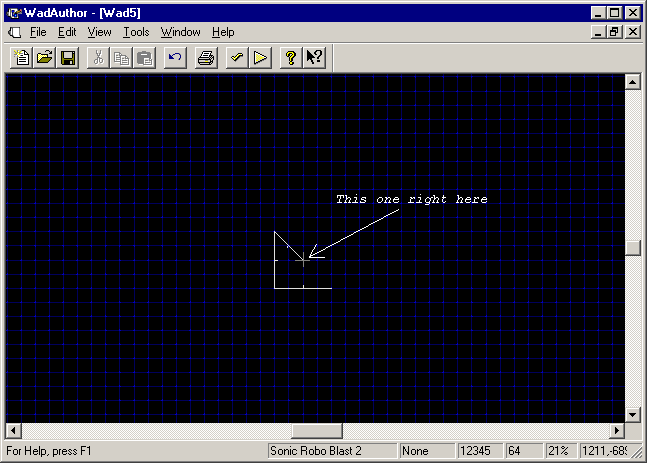
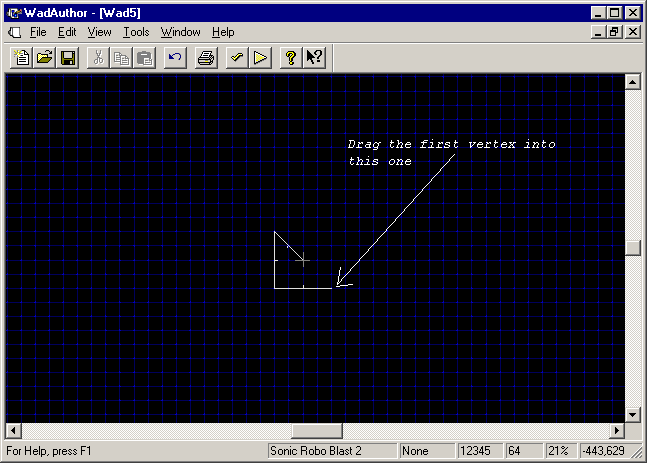
Well, first, click on the rightmost vertex on the diagonal line:
And drag it into — yes, right into — the other disconnected vertex, in the bottom right of what once was a triangle:
WadAuthor brings up a helpful dialog box:
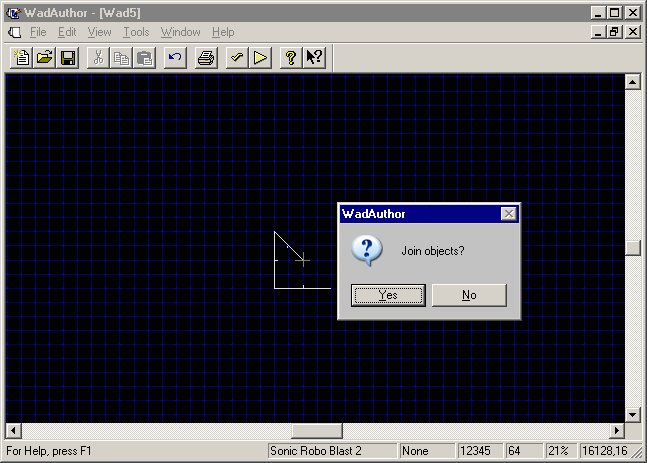
Choose Yes — combining the two vertices into one is exactly what we want to do:

There! — now our triangle has three sides just like it's supposed to. Now let's turn our triangle into a diamond. There was a better way to make a diamond (since a square and a diamond both have four linedefs and four vertices, we could've just moved the vertices around), but my overall intent is to teach you how to manipulate linedefs and vertices, not to make a diamond. So we'll make a diamond out of our triangle. First, select the lower left vertex and move it down four grid points:

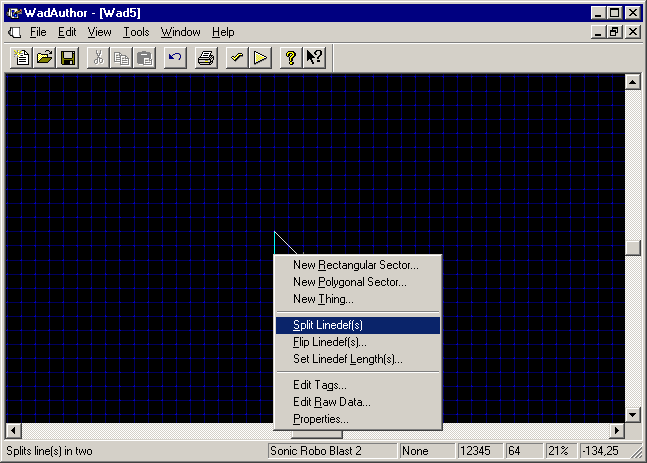
We still have a triangle, though. The side on the left is made of only one linedef, as you can see by the fact that it has only one tiny line coming out of the middle of it. We need to magically transform that linedef into two linedefs. Right-click on the linedef and select "Split Linedef(s)":
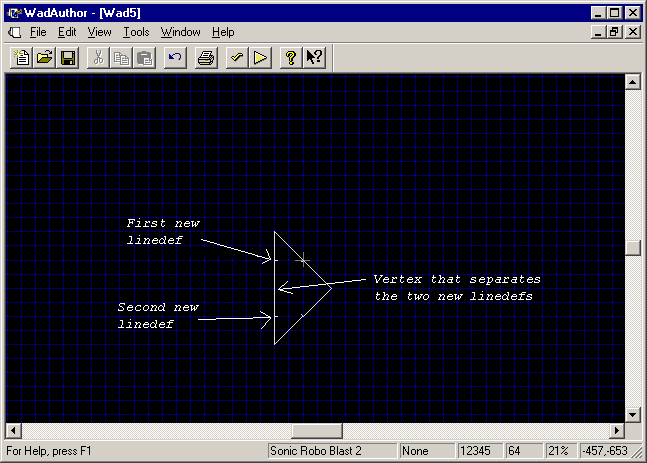
Now there are two linedefs there, with a new vertex in the middle of them:
Select that new vertex and move it to the left by four grid points. That would be 256 units, because the grid points are 64 units apart and 4 times 64 is 256. (Thought I'd forgotten units, didn't you?) Anyway, you get this nice diamond:

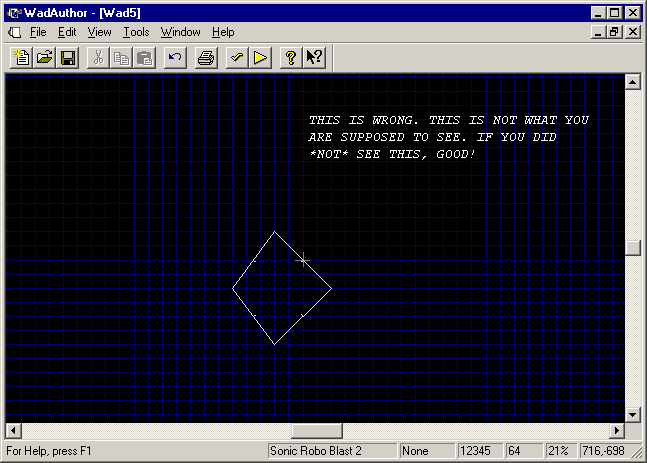
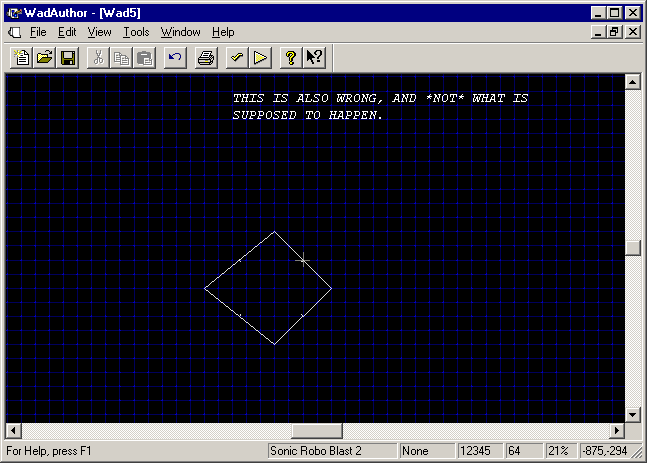
If instead you got something like the following two layouts, you didn't drag the vertex the right number of grid units:
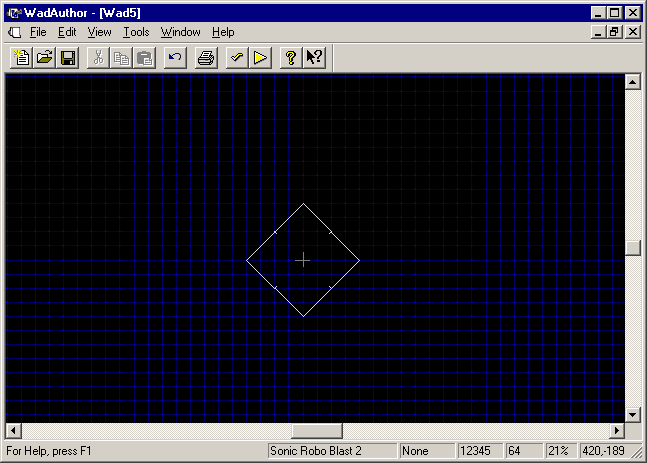
Okay, so you don't have either of the two layouts above. Instead, you have a perfect diamond. Great!
But wait a second. That diamond is off-center. It really won't matter where objects are relative to the origin, but say you're a neat freak and you want that diamond centered around the origin, if only so it looks "clean" while you're editing the map. Click in the middle of the diamond sector (make sure the whole thing is blue, not just a linedef) to select the whole thing, and drag it to the proper position:
There! Great! Now you can go dust your bookcase again. Sure, maybe you did dust it an hour ago, but that !@# dust is falling all the time! When you get back from dusting, read the next section.