SRB2 Level Editing Made Easy
Manipulating the Grid
In our examples, the grid points — those blue dots everywhere — had been 64 units apart. While that's the default, it can be changed. Right-click an empty area in the map (hey, this time it actually does matter!) and select "Increase Grid":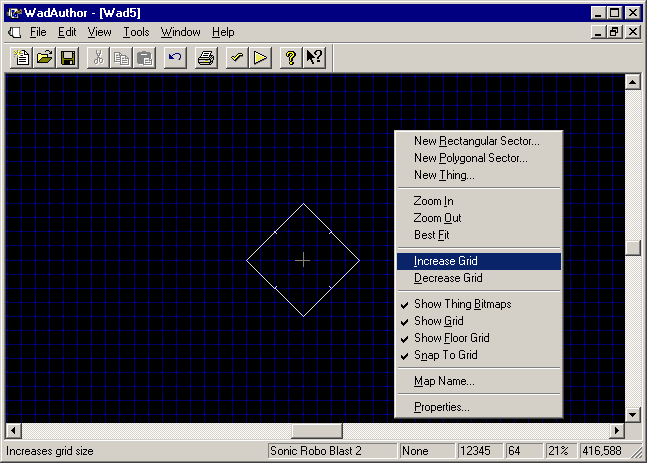
The blue dots are in the same place. Allow me to let you in on a little secret: it's actually the dark blue lines, not the blue dots, that make up the grid. Those lines! Did you even notice them? Well, if you look carefully, you'll see they're twice as far apart as they used to be. Try dragging a vertex around and then putting it back — it skips every other blue dot.
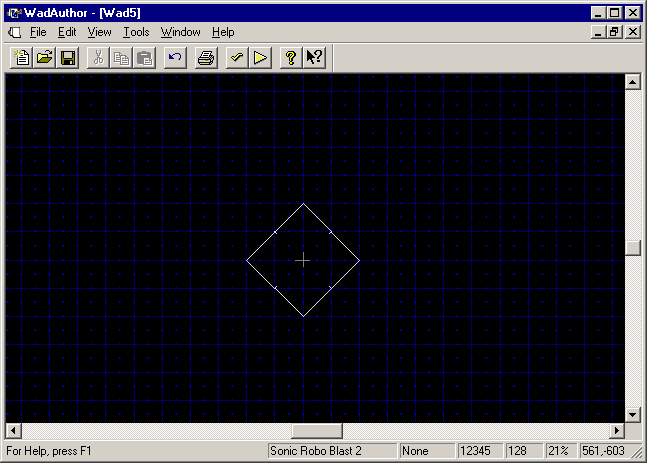
You'll rarely, if ever, want to increase the grid like this. 64-unit grids work fine most of the time. Sometimes, though, you need to work with small areas and want the grid units to be closer together — say, only 32 units apart from each other.
Right-click in an empty area and choose "Decrease Grid." Then do it again:
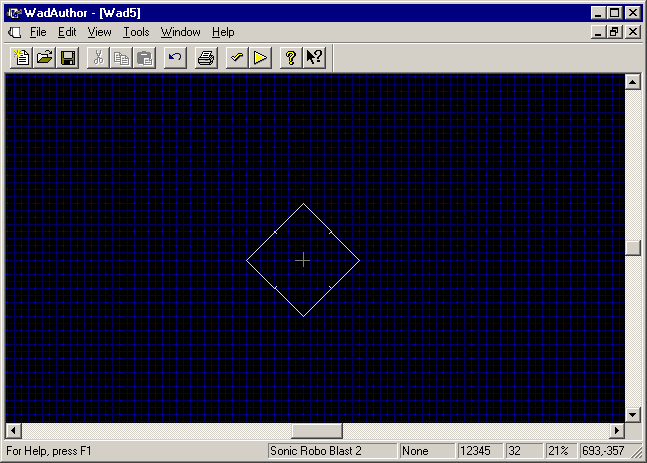
Now there are twice as many blue lines. Try dragging a vertex and see that you have finer control over where it lands.
For even finer control, you can disable the grid entirely. I recommend that you only do this when you really need to. Right-click an empty area and uncheck "Snap To Grid":
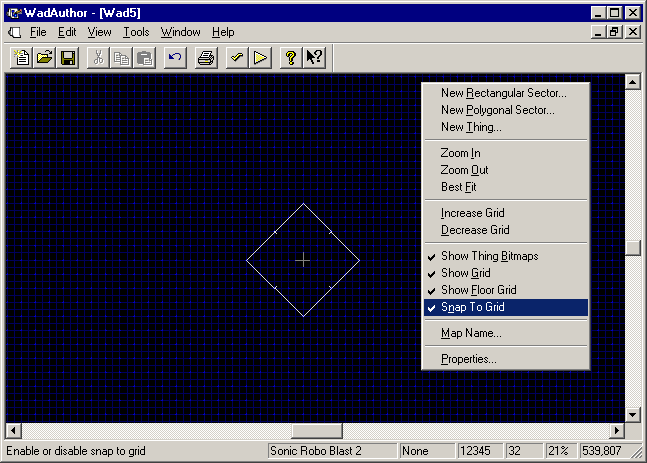
I won't give a demonstration this time, since it's very uncommon to need to disable snapping to grid. So turn "Snap To Grid" back on and set the grid units back to the default of 64 (both of which you should now know how to do on your own) and keep reading.
This last tip, though it doesn't really have to do with the grid, definitely belongs here. For the ultimate in fine control, right-click a vertex and choose Edit Raw Data:
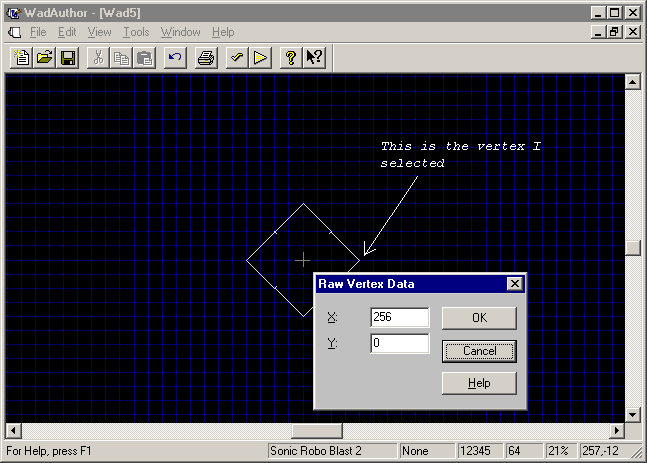
Now you can set the X and Y coordinates of the vertex exactly. (They have to be integers — that is, numbers with no decimal point. 5 and -1000 are okay, but -1.4 and 3.14159 aren't.) You can also do this with things, a type of object I'm going to explain later.