SRB2 Level Editing Made Easy
Colouring the Water
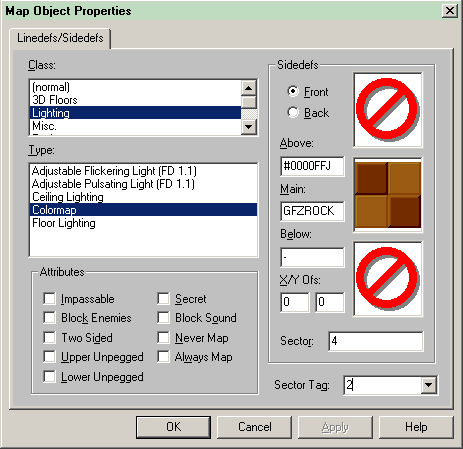
To make the water the right colour, you must create a colourmap effect. First create another tiny sector off to the side of the main level. Again, 64x64 is a good size, though it isn't that important what size you choose.This time, you don't even have to change any sector properties. Just edit the properties of one of the linedefs — any of the four — and set its type to "Colormap," in the "Lighting" class. Set the sector tag to 2.
This is tricky; why not 1? We want the colour map to work in the affected sector that has a tag of 1.
Well, if we set it to 1, it would apply to the affected sector — above water! Since we want the colour map to work underwater, we'll set that to 2. Also go back to the control sector (not the control linedef!) for the water block and tag that to 2. Yes, the same sector can be both an affected sector and a control sector (but not in regards to the same tag).
Now you have to set the above texture for the (front) sidedef to something special. You won't be setting it to a real texture, but some text beginning with a #. The # is called either a pound or a hash (or even something else) depending on who ask. (I prefer to call it a hash because I think "hash" is a nice word.) The format for this weird texture-that's-not-really-a-texture is:
#rrggbbaHere you specify a colour and an amount of translucency. The colour is made by combining red, green, and blue values — most colours are made this way in computer programs — where red and green make yellow, green and blue make cyan (which looks kind of like light blue, but isn't), and red and blue make purple. (Orange is made by mixing red and green so that there's more red than there is green, instead of keeping the red and green values equal, which you would do to make yellow.)
The "rr", "gg", and "bb" values are in hexadecimal, base 16. They can be from 0 (hexadecimal 00, none of that colour) to 255 (hexadecimal FF, as much of that colour as possible). So if we forgot about the "a" part at the end for a second, and left it off (you can't actually do this in the texture value), some colours would be:
#000000 - black
#FFFFFF - white
#808080 - medium grey
#404040 - dark grey
#C0C0C0 - bright grey
#FF0000 - bright red
#800000 - dark red
#FFFF00 - bright yellow
#808000 - dark yellow
#00FF00 - bright green
#0000FF - bright blue
#00FFFF - bright cyan
#800080 - dark purple
#400040 - really dark purple
Hopefully you get the pattern by now. You can use Windows Calculator to convert between base 10 (decimal) and base 16 (hexadecimal), if you have it set to operate in scientific mode.
The "a" stands for "alpha," and controls translucency. That means how see-through the colour map is. The value here is not hexadecimal, but can be anything from A to 9 (the possible values are ABCDEFGHIJKLMNOPQRSTUVWXYZ0123456789), where A is completely transparent and 9 is almost completely opaque. (Note: An old version of the guide had these settings in the wrong order. They are correct now.)
All this information will serve you well when you want to create specialised colour maps for various purposes. But we just want our water to be coloured right. The setting for normal water is #0000FFJ, so stuff that into the "above" texture:
Press OK, save, and try your level again.
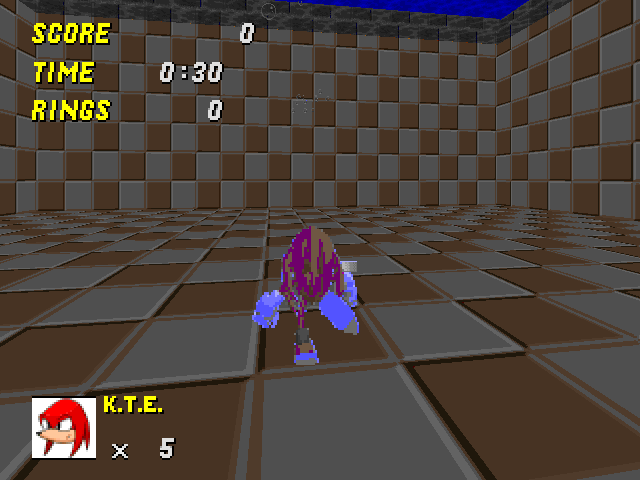
That's the authentic water you're used to seeing in Greenflower Zone. Your water creation is now done.
Slime, by the way, is #E000E0S. If you want to make slime instead of water, you'd also have to make it painful — that's done by setting the affected sector's sector type (at the top of the sector properties dialog) to "Slime Hurt." Finally, you'd have to set the control sector's floor and ceiling to CHEMG01 instead of FWATER1. Try changing this level's water to slime if you find the concept interesting.